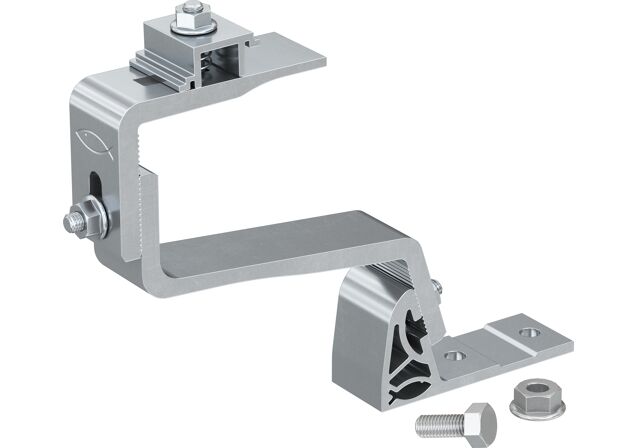
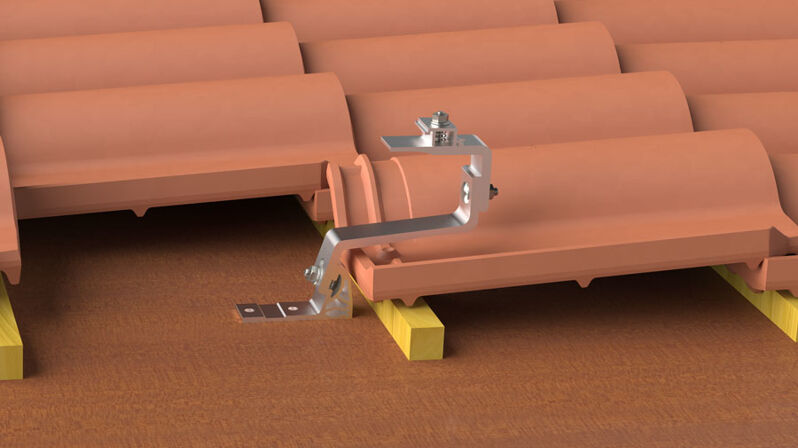
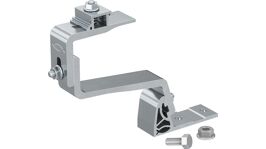
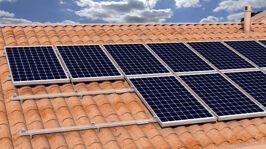
Aluminium hook with 2 adjustment positions for the installation of photovoltaic systems on tiled roofs with ventilation strips of variable thickness.

GTA 2 aluminium hook for tiles and strips

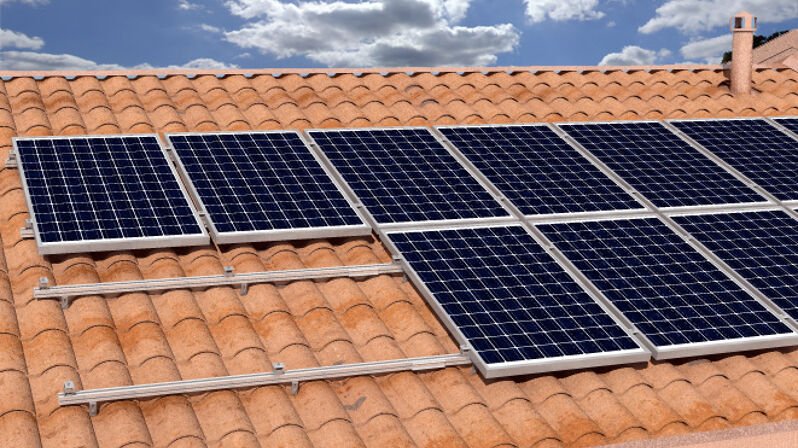
GTA 2 is an aluminium hook for building photovoltaic system structures on tiled roofs with ventilation strips of variable thickness. The upper adjustment position allows you to adjust the distance of the rail from the top of the tile, while the lower adjustment position allows you to adapt the hook to different tile and ventilation strip thicknesses. The GTA 2 hook is equipped with a quick coupling joint for connecting the hook to the rail in seconds and without the need for additional bolts; compatible with SolarLight and SolarFish rails. The shape of the hook is designed to withstand the snow and wind loads required by law without touching the tile.
Product variantsDownload of image data

Product variants

1 Product variant (s)
Total height
Installation torque
Width across nut
Amount
GTIN (EAN-Code)
Viewed 1 of 1 variant (s)

The advantages / Product description

Advantages
  • Double adjustment with anti-slip knurling to facilitate installation;
  • Narrow base: suitable for continuous supports;
  • High centre distances: the great load capacity allows the use of fewer hooks;
  • Controlled deformation: designed not to bend or damage the tiles;
  • Pre-assembled: ready to use without the need for additional accessories;
  • Strong and lightweight: made of aluminium to last the entire life of the system;
  • Suitable for both SolarLight and SolarFish rails by rotating the rail-locking element.

Application and approval

Applications
  • Fastening of photovoltaic systems on tile roof supported by strips of variable thickness.
  • Suitable for both SolarLight and SolarFish rails by rotating the rail-locking element.
Approvals
  • TUV - R 60154136

Assembly instruction

Functionality
  • Fix the base element to the substructure using suitable fixing (minimum 2 fixings).
  • Raise or lower the middle element according to the height of the tile to be surmounted.
  • Tighten the M8 connection nut between the base element and the middle element with a torque of 10 Nm.
  • Raise or lower the upper element according to the height of the upper tile and the desired position of the SolarFish or SolarLight profile.
  • Tighten the M8 connection nut between the middle element and the upper element with a torque of 10 Nm.
  • Place the SolarFish or SolarLight profile above the upper element in front of the profile fixing element.
  • Insert the profile fixing element inside the lateral groove of the profile (high side for the SolarFish profile and low side for the SolarLight profile).
  • Slide the profile stop to align the profile in the correct position forwards or backwards.
  • Tighten the M8 connection nut of the profile fixing element with a torque of 10 Nm.

Documents for download

  • Approvals and Certificates
  • Sales materials
Certificate
pdf, TUV - R 60154136
TUV Certificate
Valid from 11/01/2021
to 11/01/2026
cd-green-58bb58464c-47qvg